 Yesterday I spent all afternoon in the kitchen, decorating the Christmas cake, whilst listening to Christmas tunes. This has been a tradition, since as long as I can remember. Several months before Christmas, Becky and I usually discuss what design we’re each going to do that year. This year for me it was easy – I’d found two designs last year and only had time to do one, the penguin bowling cake. I’m glad I didn’t try to fit this one in last year since it literally took all afternoon to decorate.
 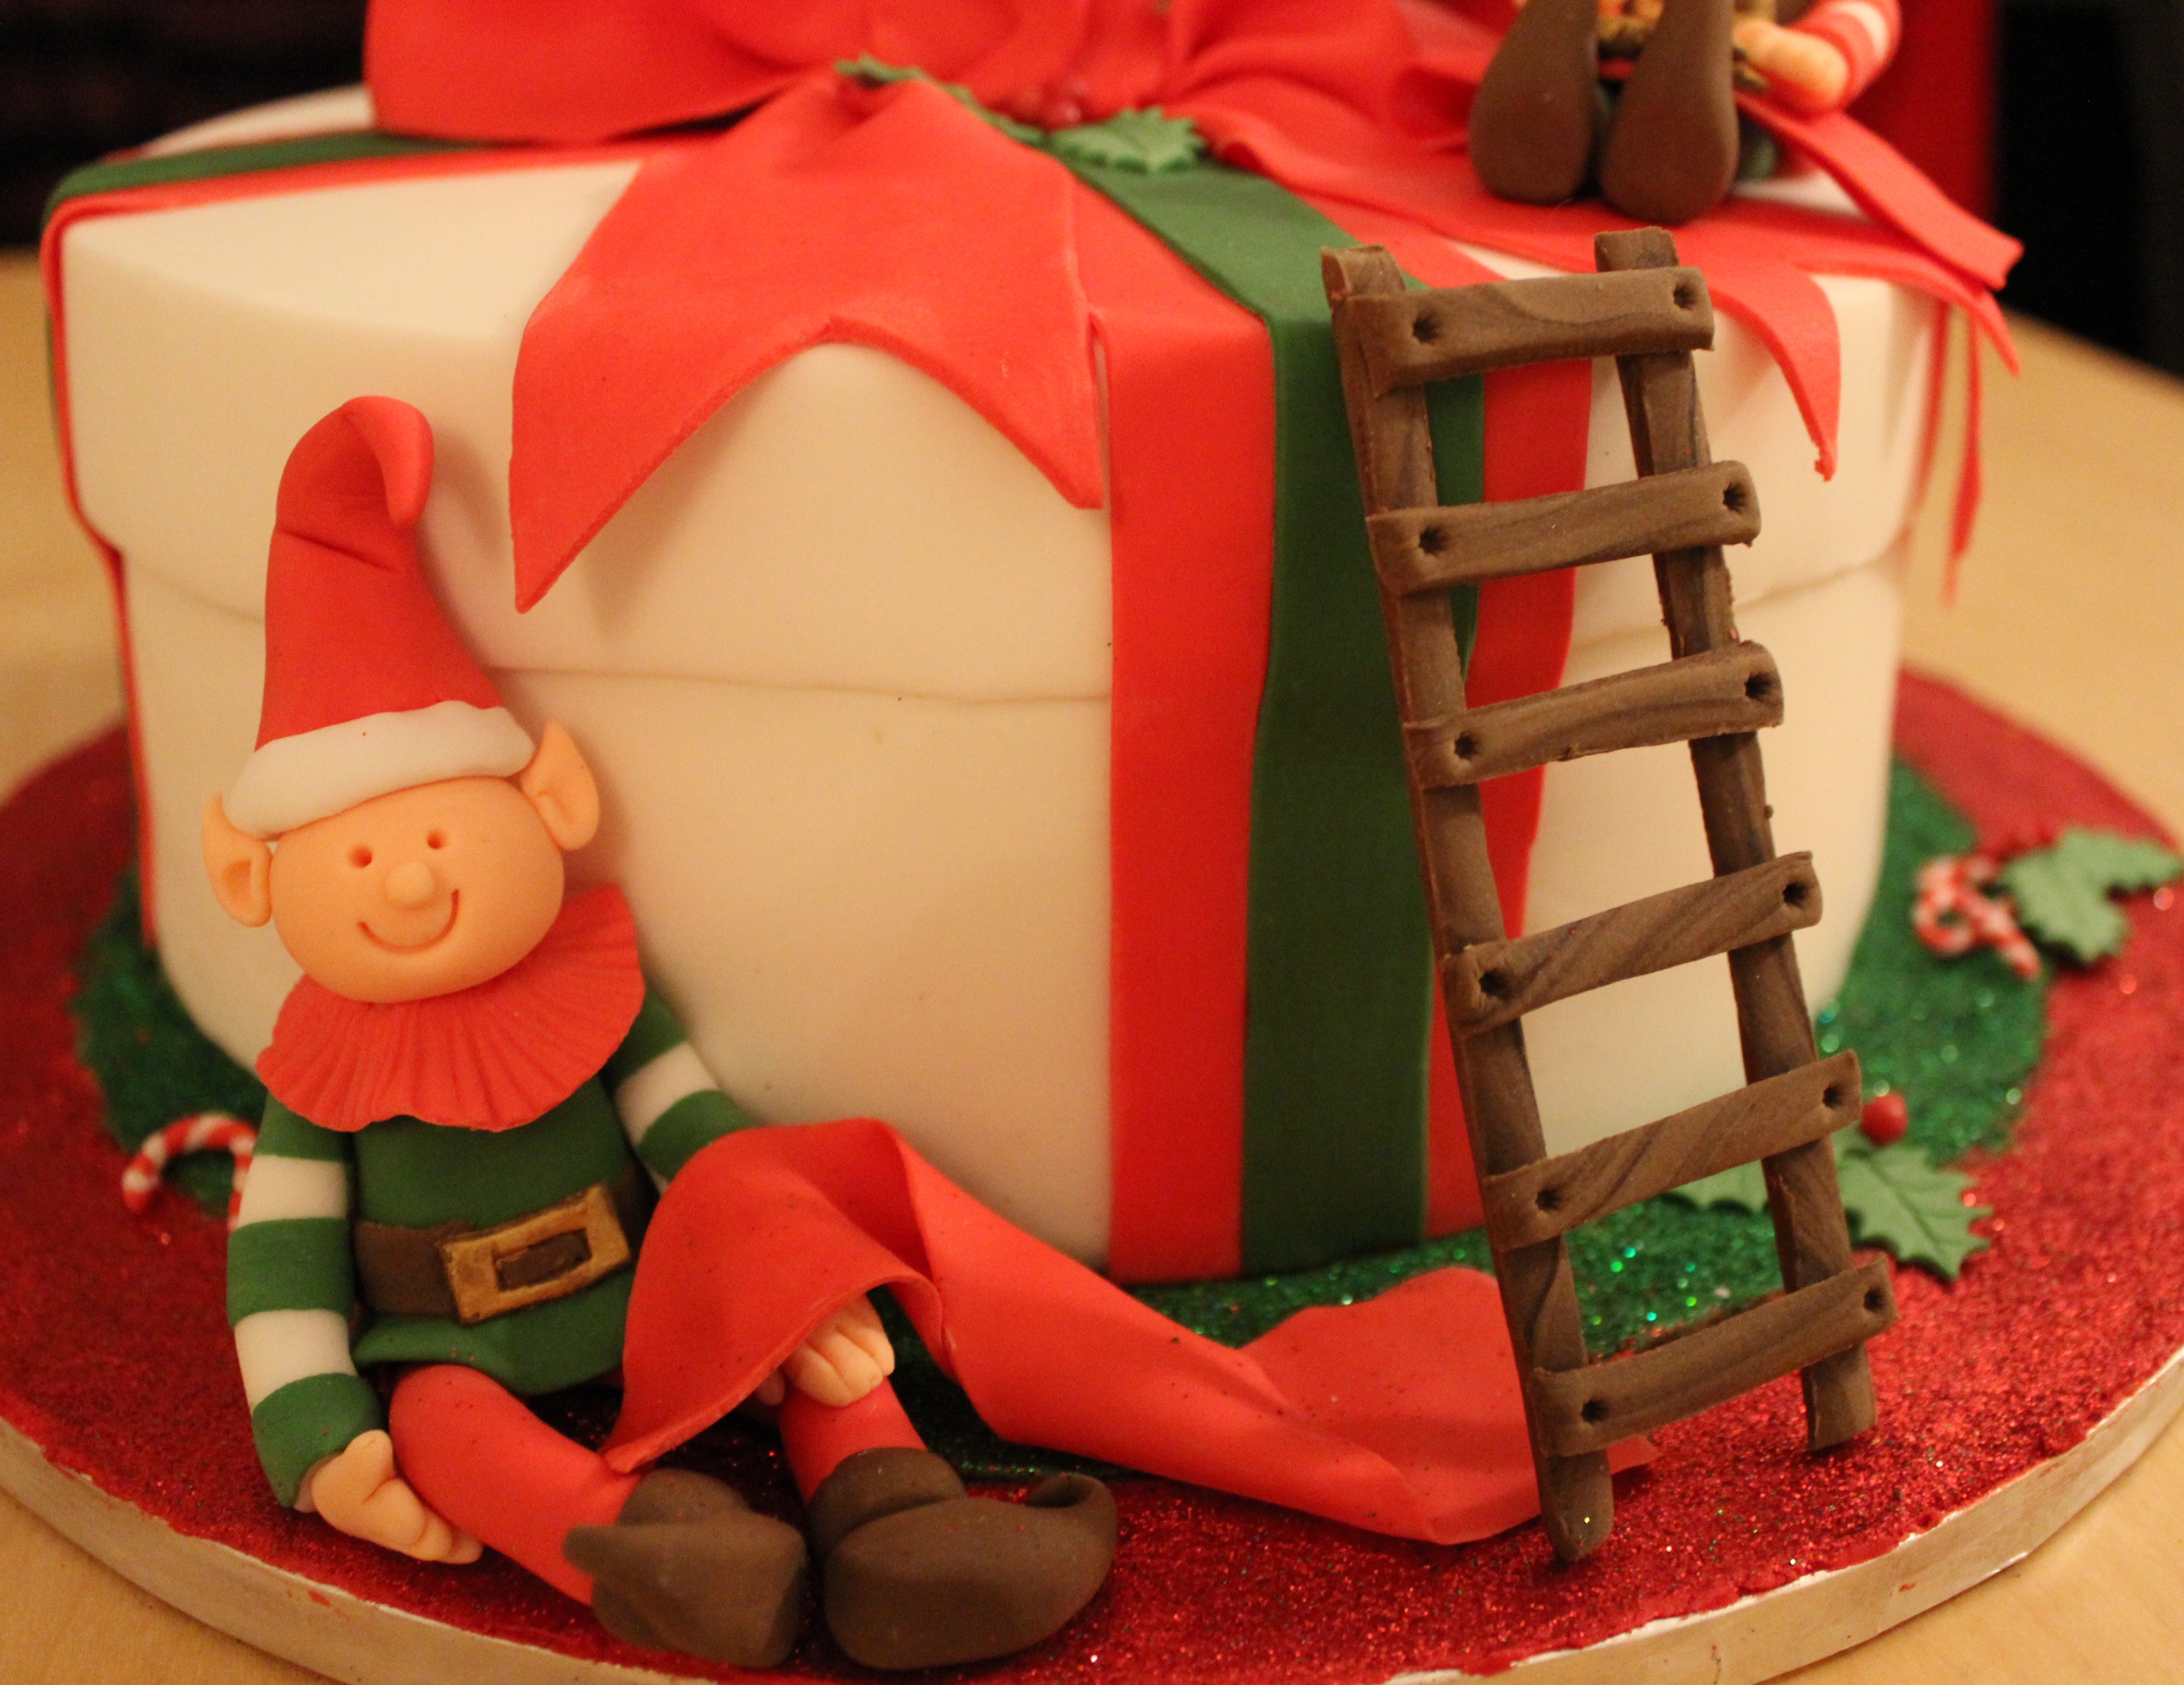 The first thing I did was to cover the cake (an 8″ fruit cake) in marzipan and white fondant icing. I then rolled out some more white fondant icing and cut out an 10″ circle which I placed on top and smoothed down the sides so that it looked like box lid. I made the edges sharp using acetate smoothers. For the ribbon on the cake I used sugar florist paste so that I could roll it really thin. I cut out two wide strips of red and placed them across the top of the cake, overlapping in the middle, and then did the same with two thinner strips of green. I stuck them all in place using a little bit of water. I made a large bow out of some more of the red florist paste and saved a bit to make the ribbon going over the elves later – it dries out quickly so make sure you wrap it up until you need it.
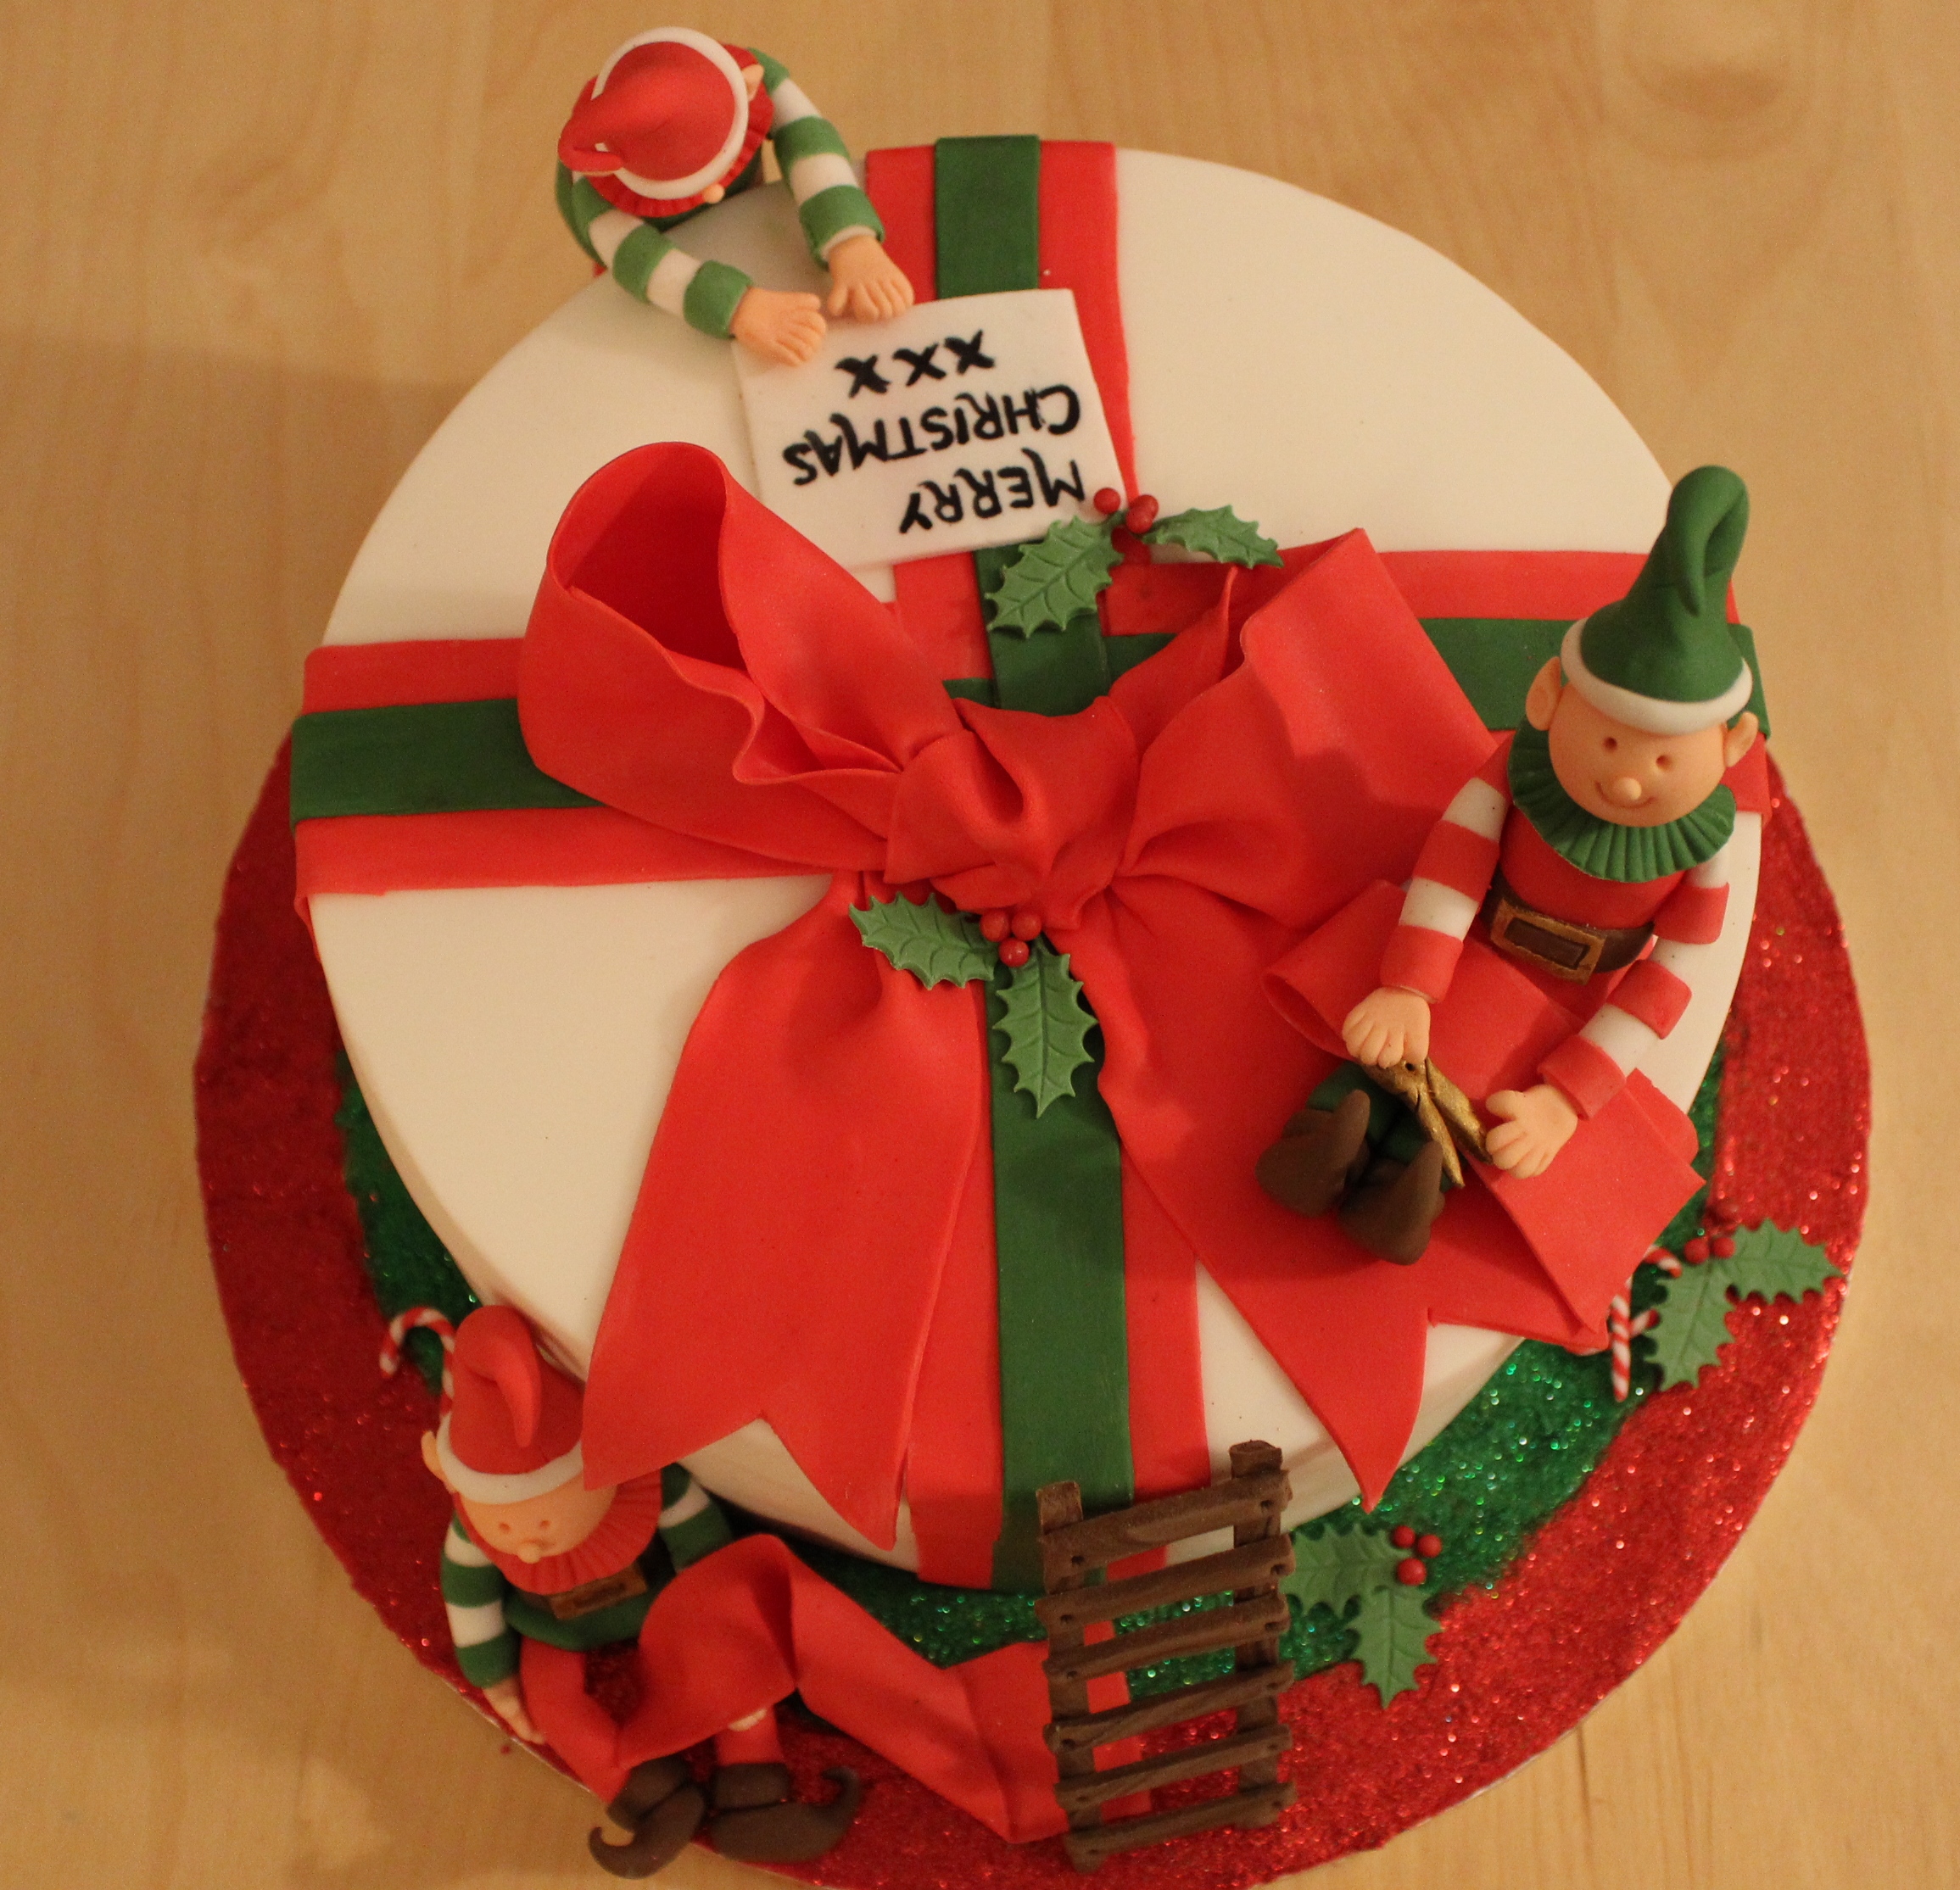
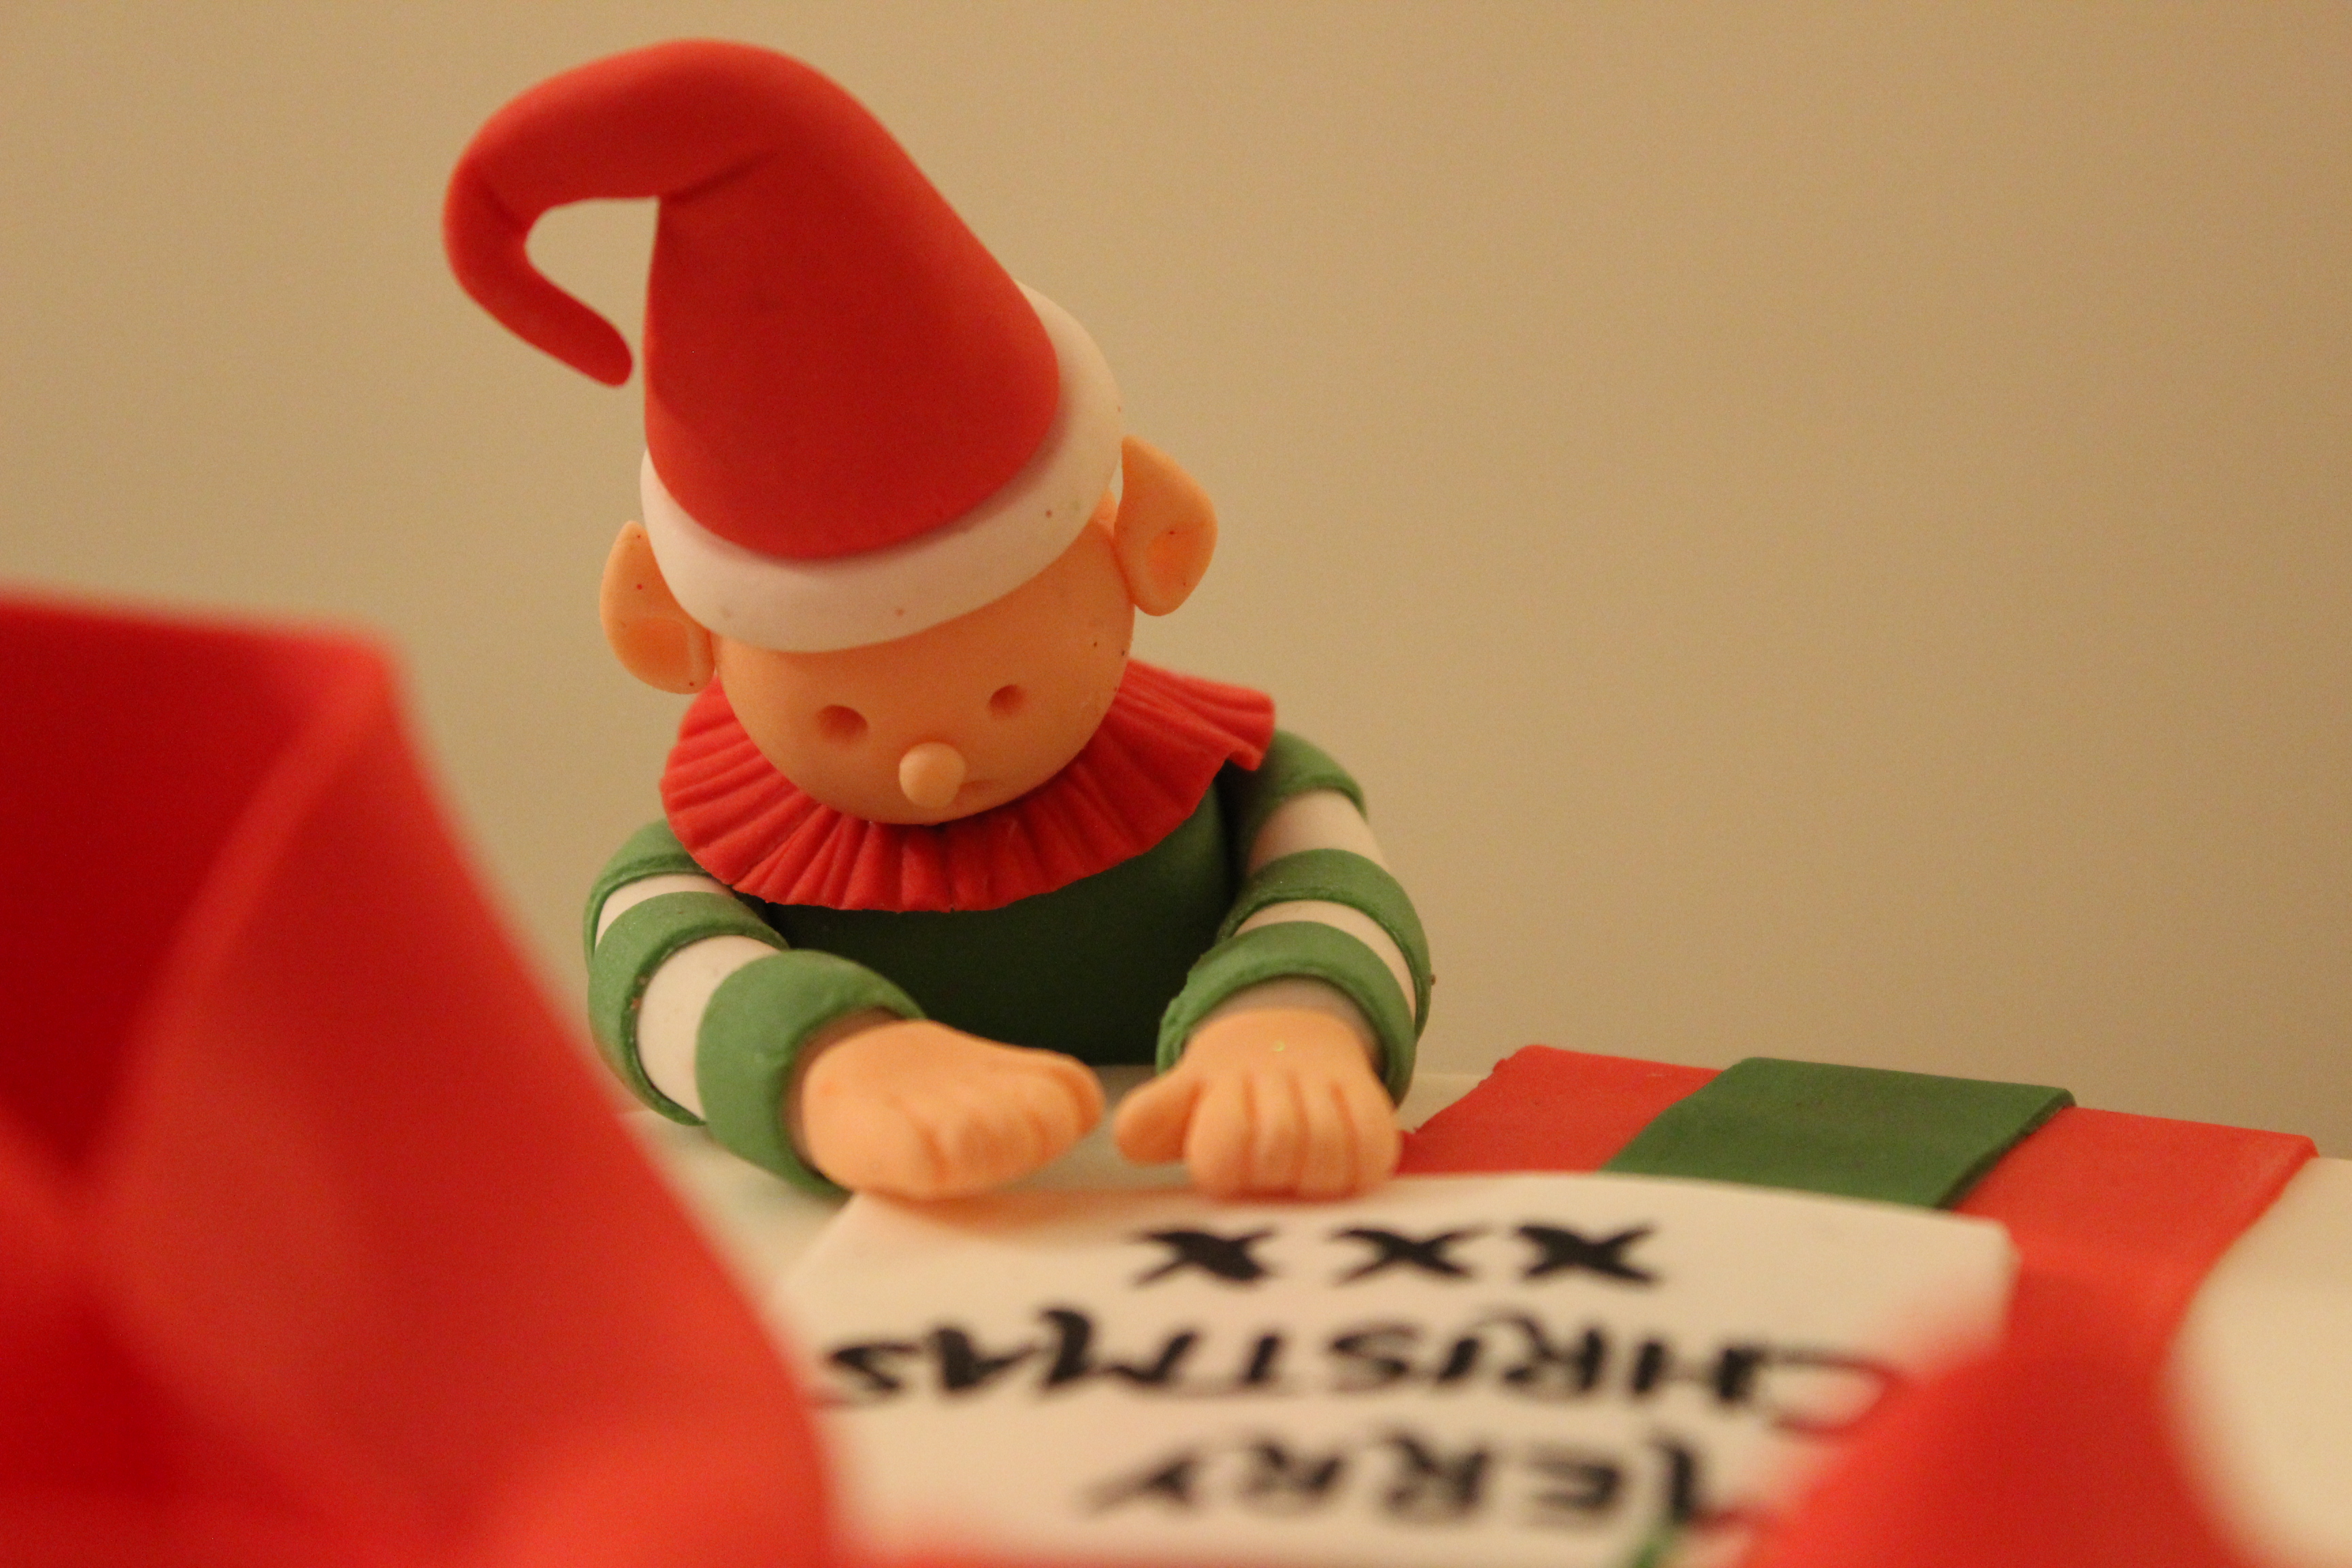 For the board, I covered a ring round the outside of the board (about 1-2″ wide) in thick royal icing, made sure it was smooth and then sprinkled red edible glitter over it before it dried out. I shook the excess off and left it to dry for a bit. I then filled the middle with more royal icing and covered it in green edible glitter and shook the excess off. I gently placed the covered cake onto the board so that the back of the cake was on the edge of the red glitter circle (i.e. not in the centre of the board).
 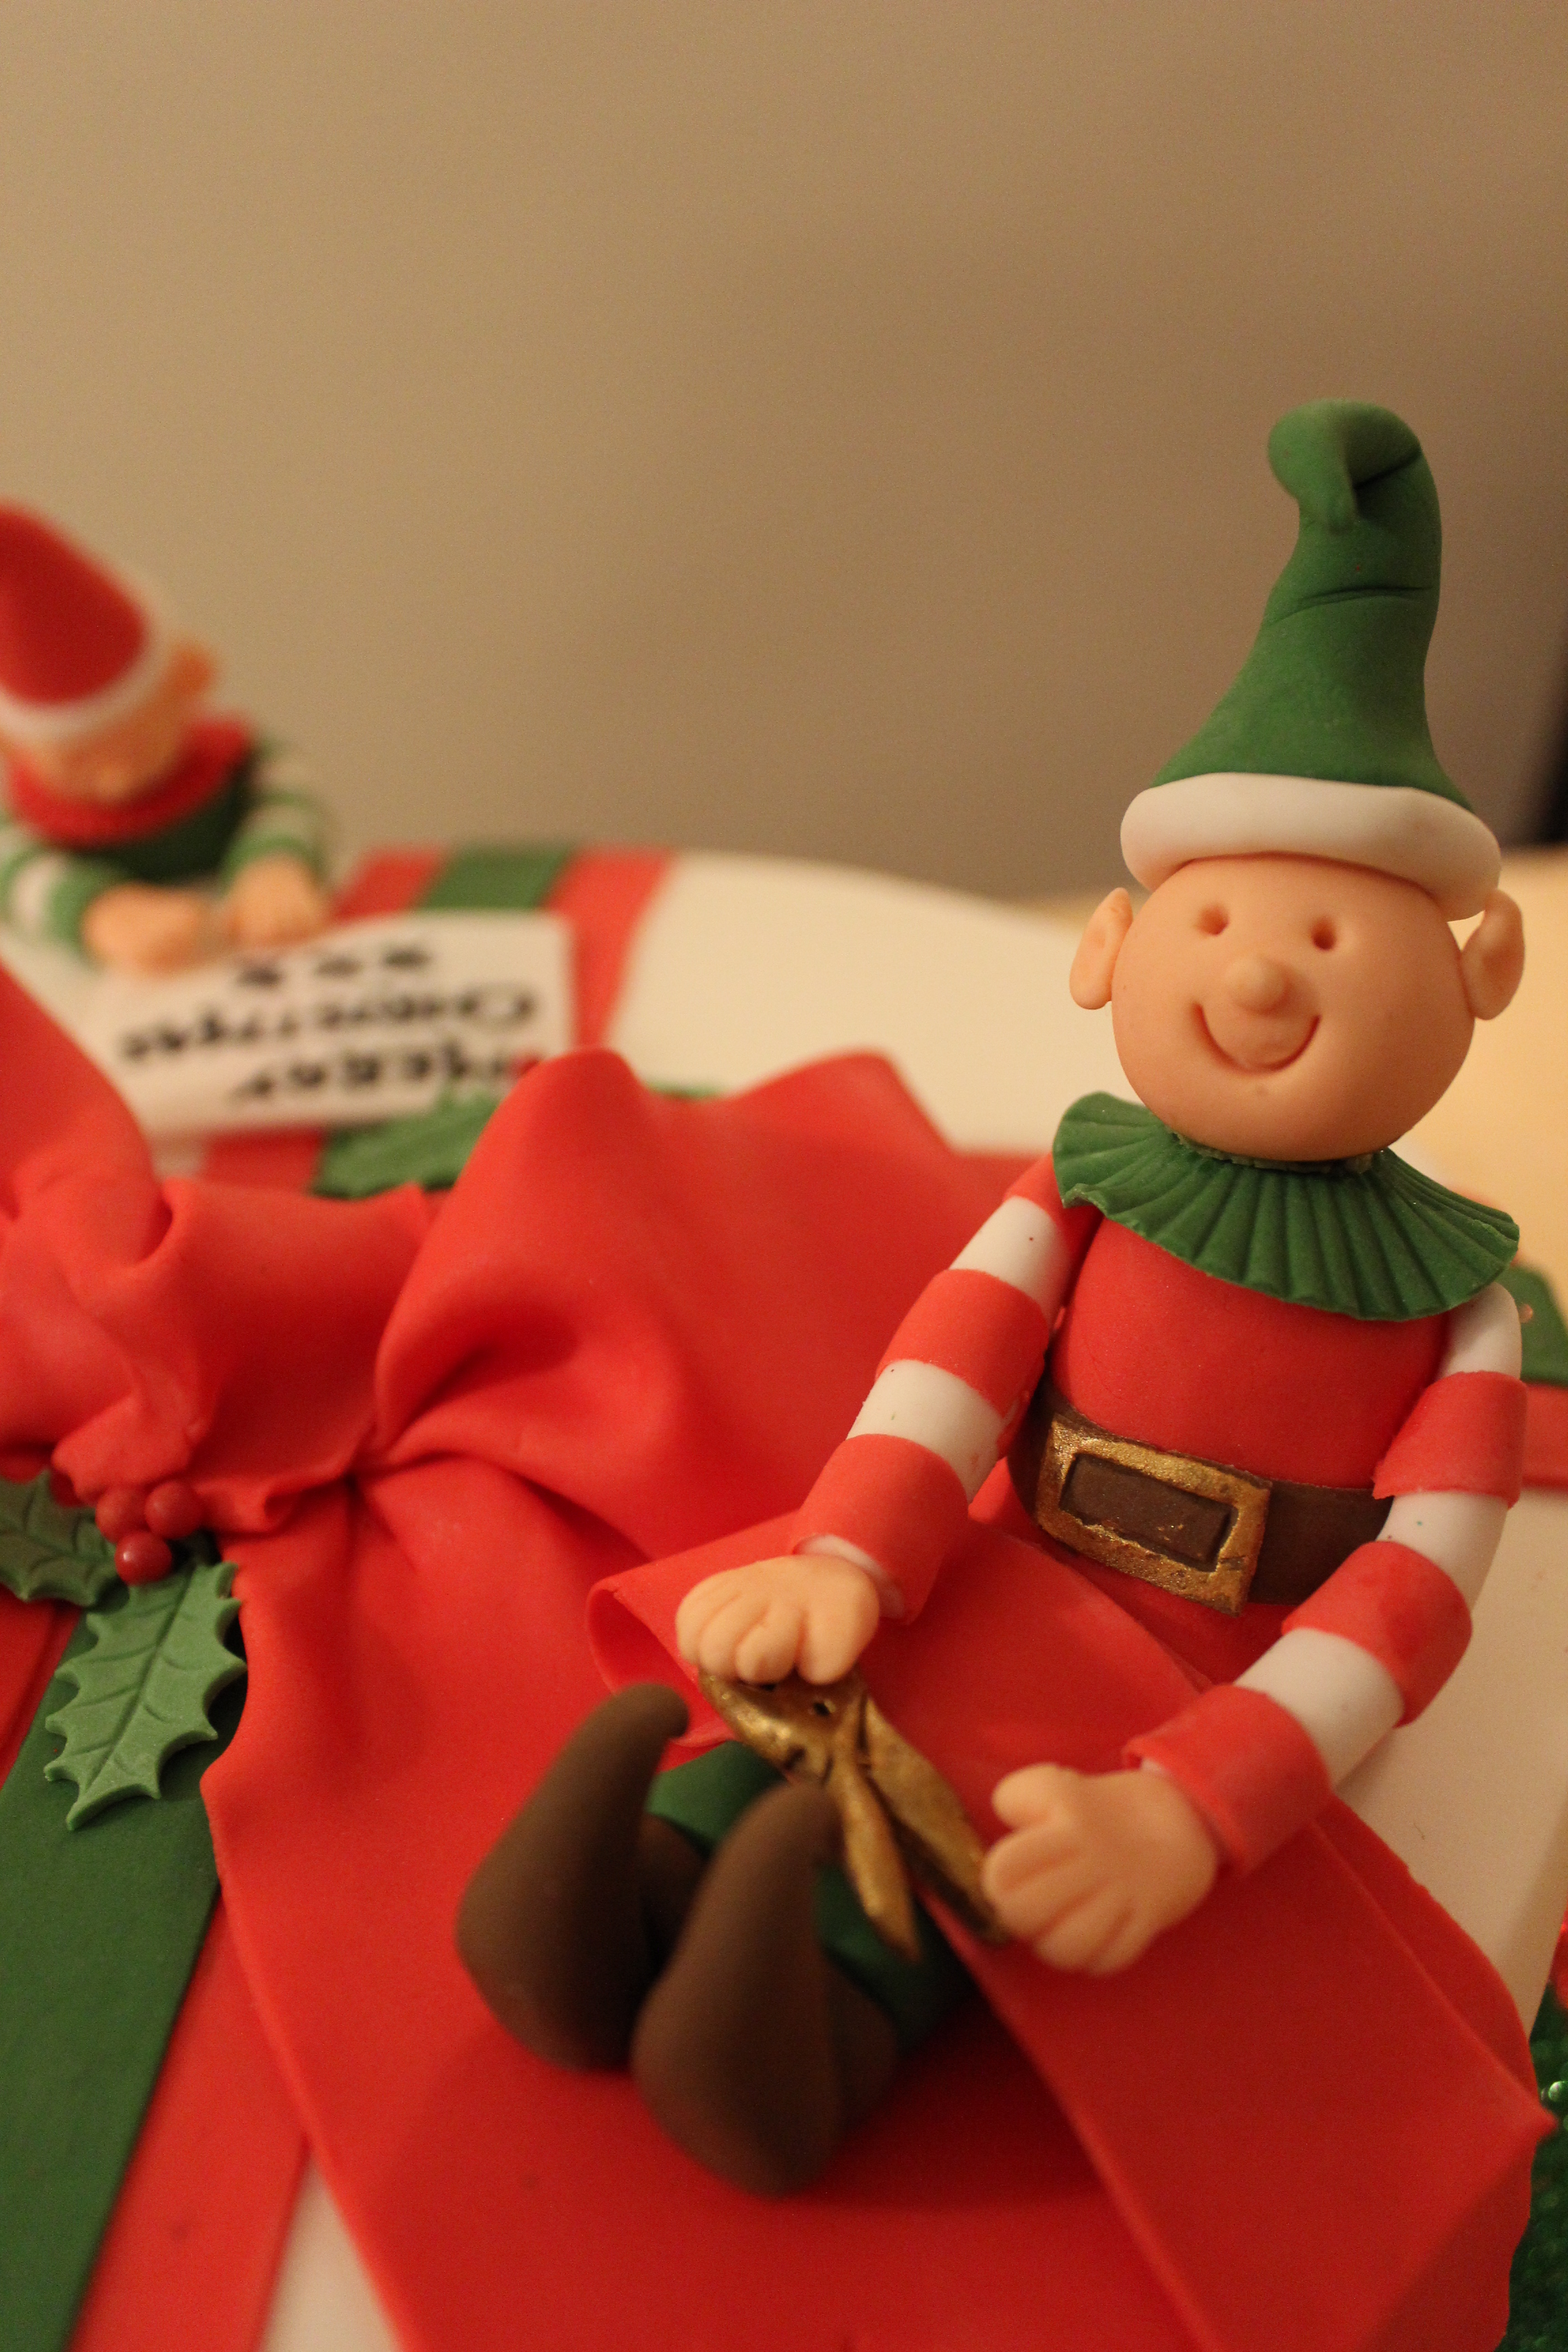 I made the elves out of Mexican modelling paste – apart from the ruffles around their necks which I made out of the sugar florist paste:
- Start with the flesh coloured modelling paste. Roll three balls for the heads and use modelling tools to mark the eyes and mouths. Stick a small ball onto the middle of each face for the nose, using edible glue. To make the ears, make six small cones and push a small ball tool into the bottom of each. Stick one onto either side of each head.
- Next make three pairs of legs – one green and two red. One of the red pairs needs to be slightly bent, for the elf sitting on the board at the front, the other red pair needs to be able to stand.
- Then make the bodies – one red and two green. I made them like a fat sausage and then thinned out the bottom so that it would drape over their legs and look like a tunic.
- Make up a small amount of brown modelling paste. Roll some of it out thinly and cut out three strips for the belts. Use a knife to mark the buckle and then paint with some gold food colouring. Use the rest of the brown to make three pairs of boots, with curled over ends. Stick the boots and belts on to the end of the legs and waist using some edible glue.
- Use some white modelling paste to make three sets of arms and wrap two pairs of them with thin strips of green modelling paste and the other pair with red. Stick them in position with edible glue.
- Using some florist paste, cut out two thin red circle and one green and use a modelling tool to make them look frilled. Stick on top of the body using edible glue.
- Make two red hats and one green hat out of modelling paste and use some white modelling paste to make a brim at the bottom. Stick them to the heads using some edible glue.
- Finally stick the hands to the ends of the arms and the heads onto the bodies – leave to dry. I held mine in position with pots of food colouring/petal dust before moving them to the cake once they were able to hold their position.
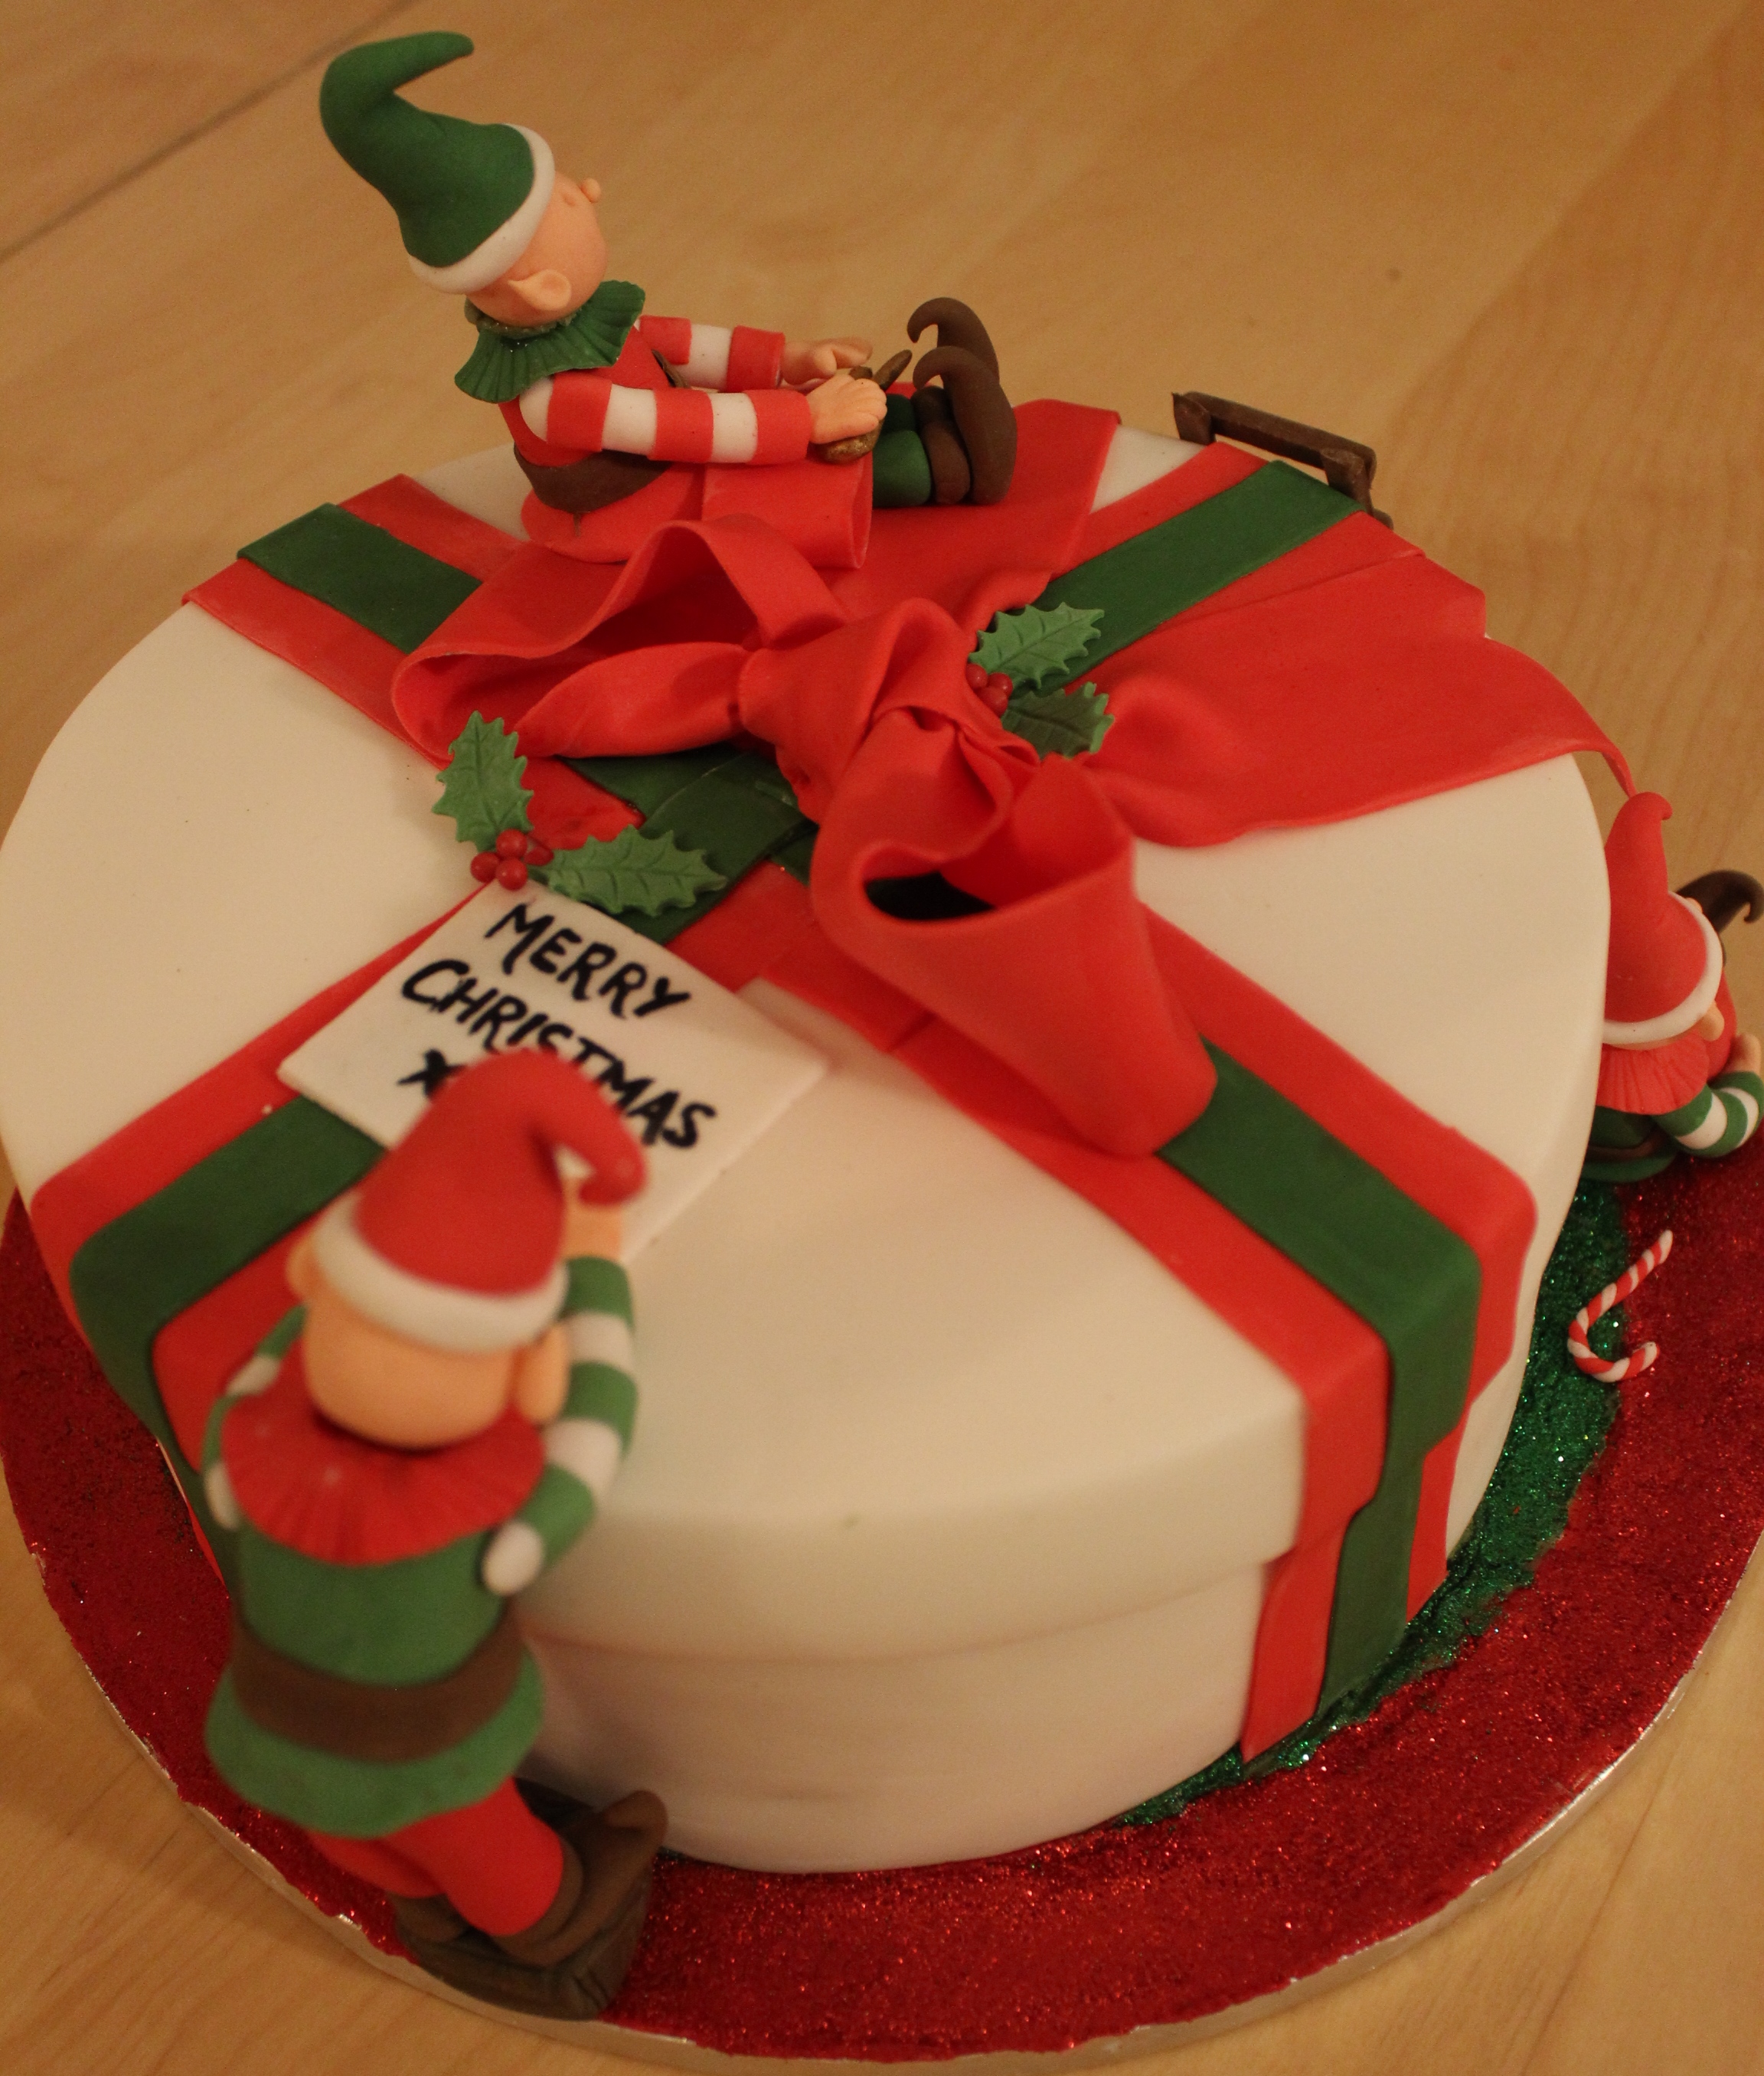 The ladder was made from some sugar florist paste which I coloured brown, but left it slightly unmixed so that it still looked marbled. I cut out two long strips and 6 short ones, to which I made a hole in each end to look like holes for screws. I left them to harden slightly before assembling the ladder using edible glue. The final decorations were made with left over sugar florist paste – some holly leaves, candy canes, a “Merry Christmas” tag, the scissors (painted with gold food colouring) and the ribbon.
 This is probably the last post from me before Christmas so I hope you all have a very merry Christmas and a happy New Year!

Leave a comment