 Just under a year ago my sister got engaged. I was extremely excited – not just because there was going to be a wedding, but also because I was going to get to make the cake! We made a deal a while ago that rather than making our own cake, we would make each other’s.
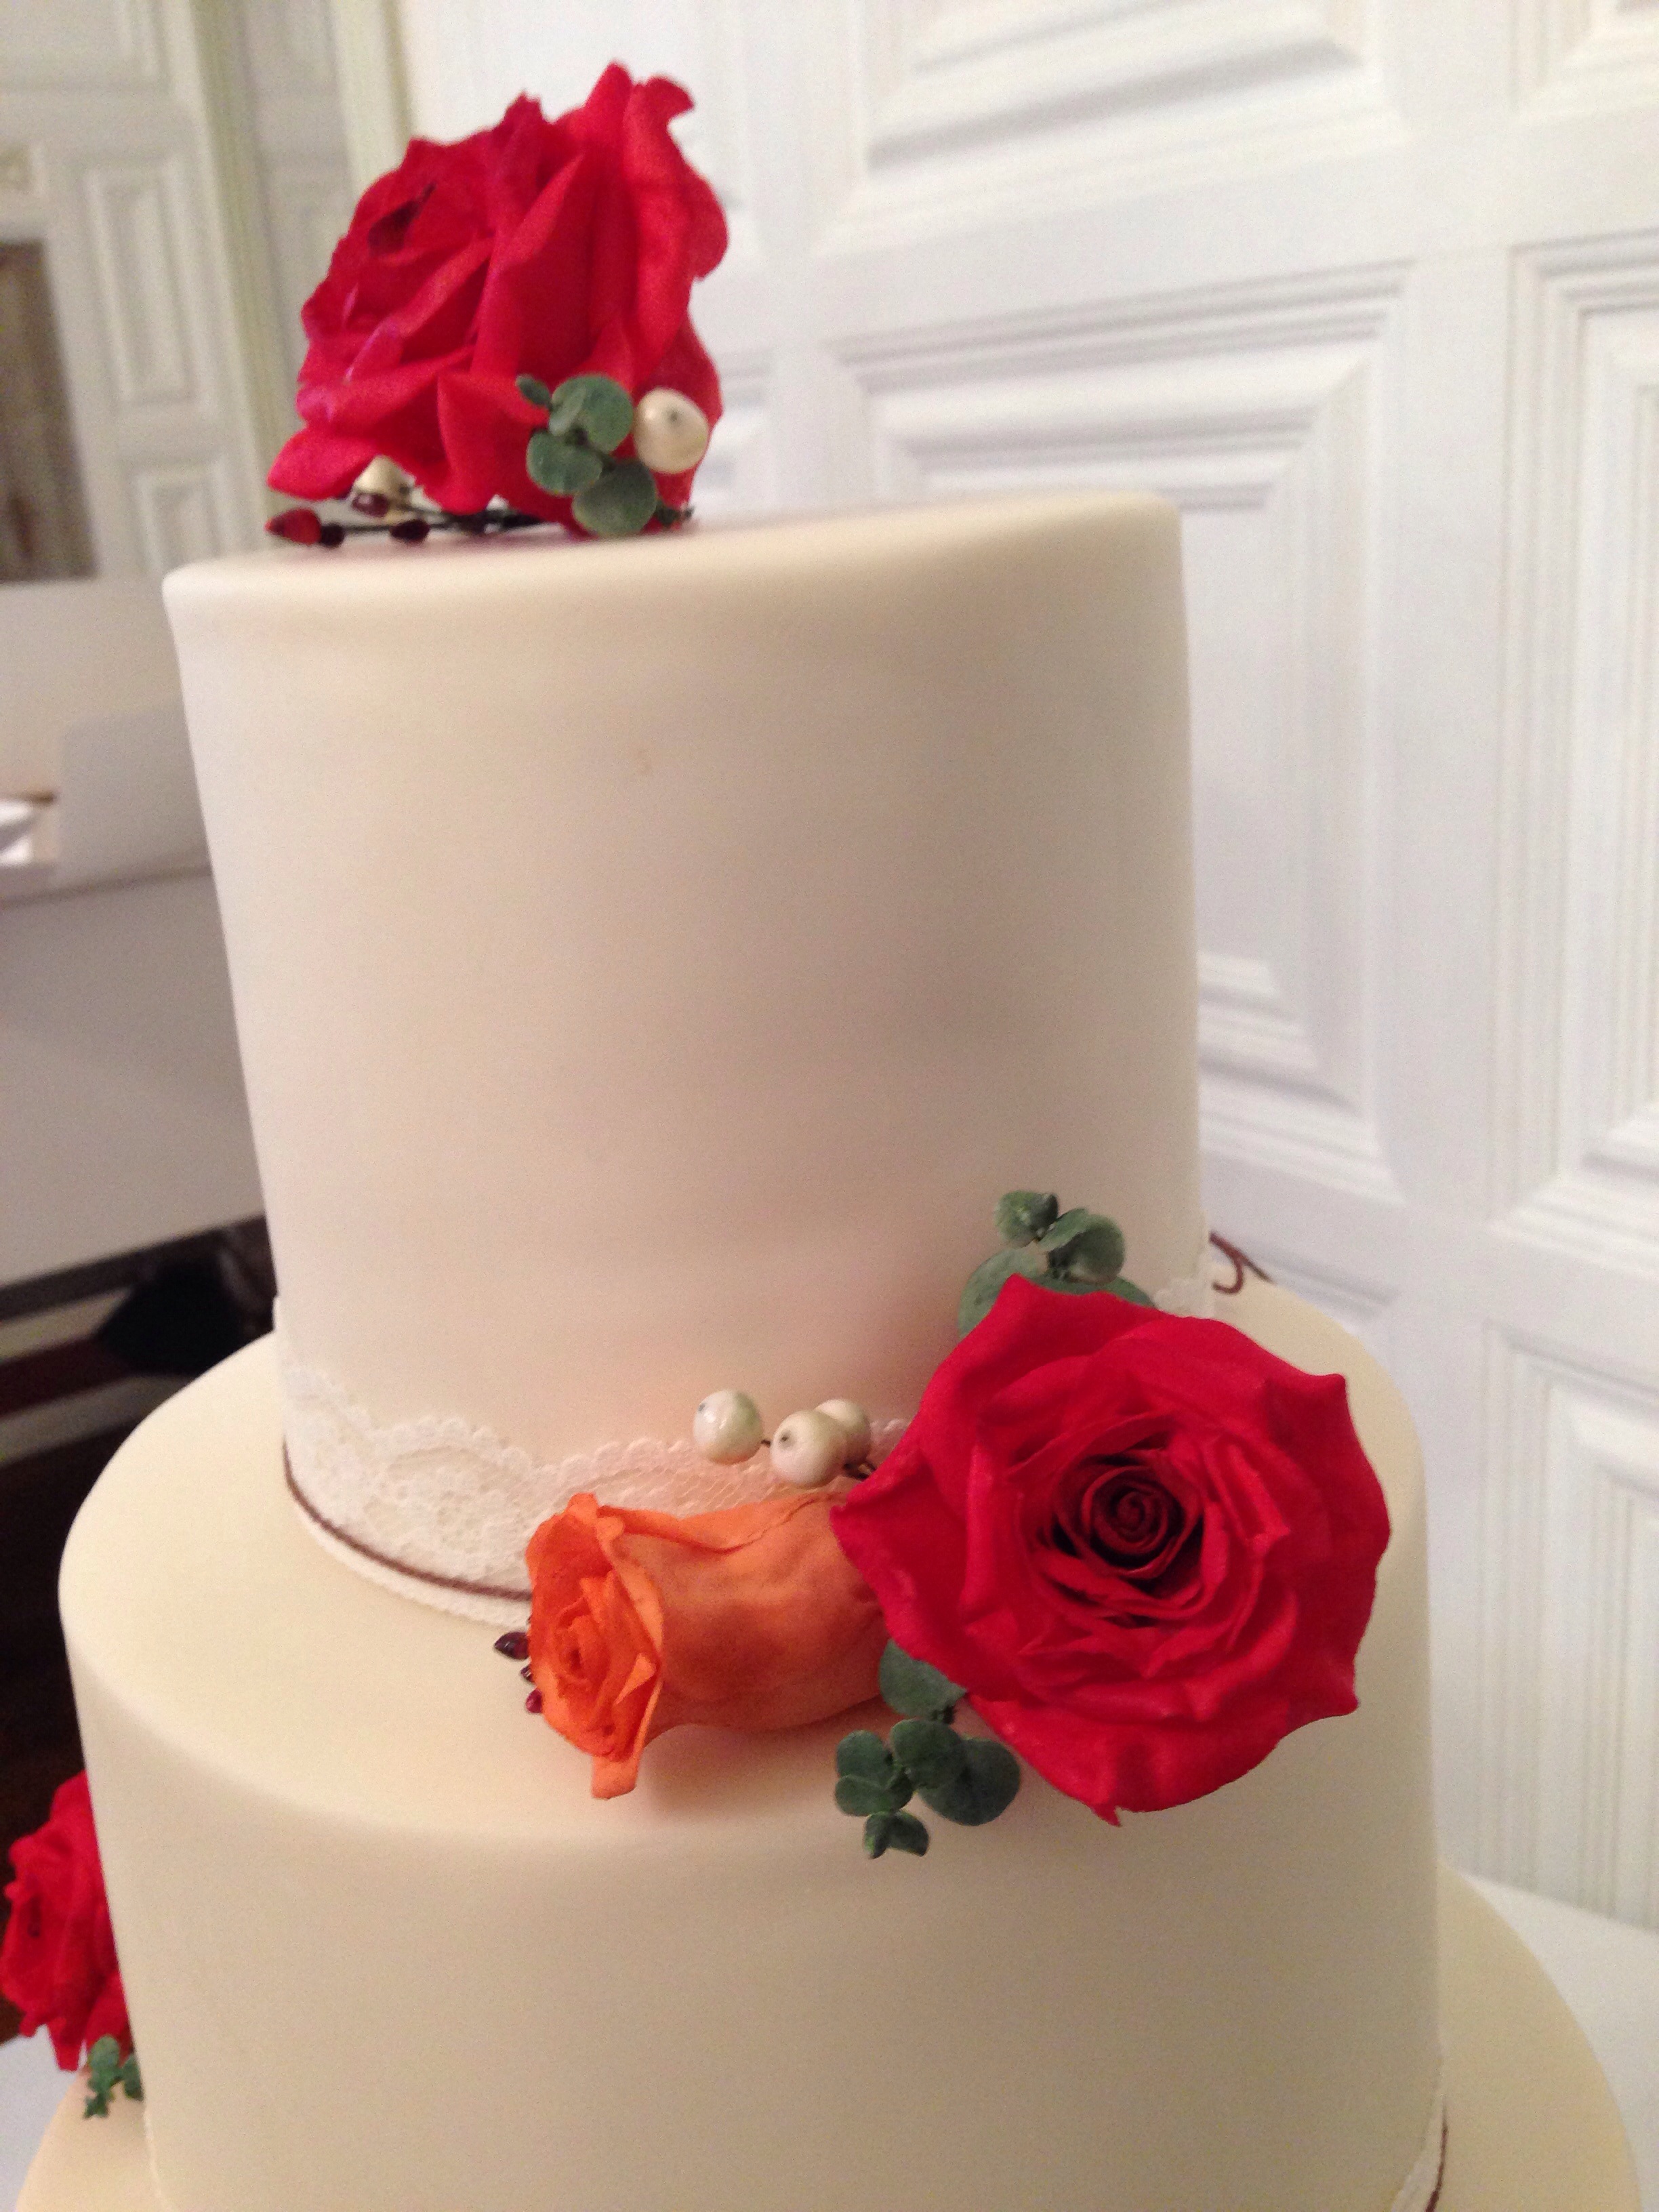
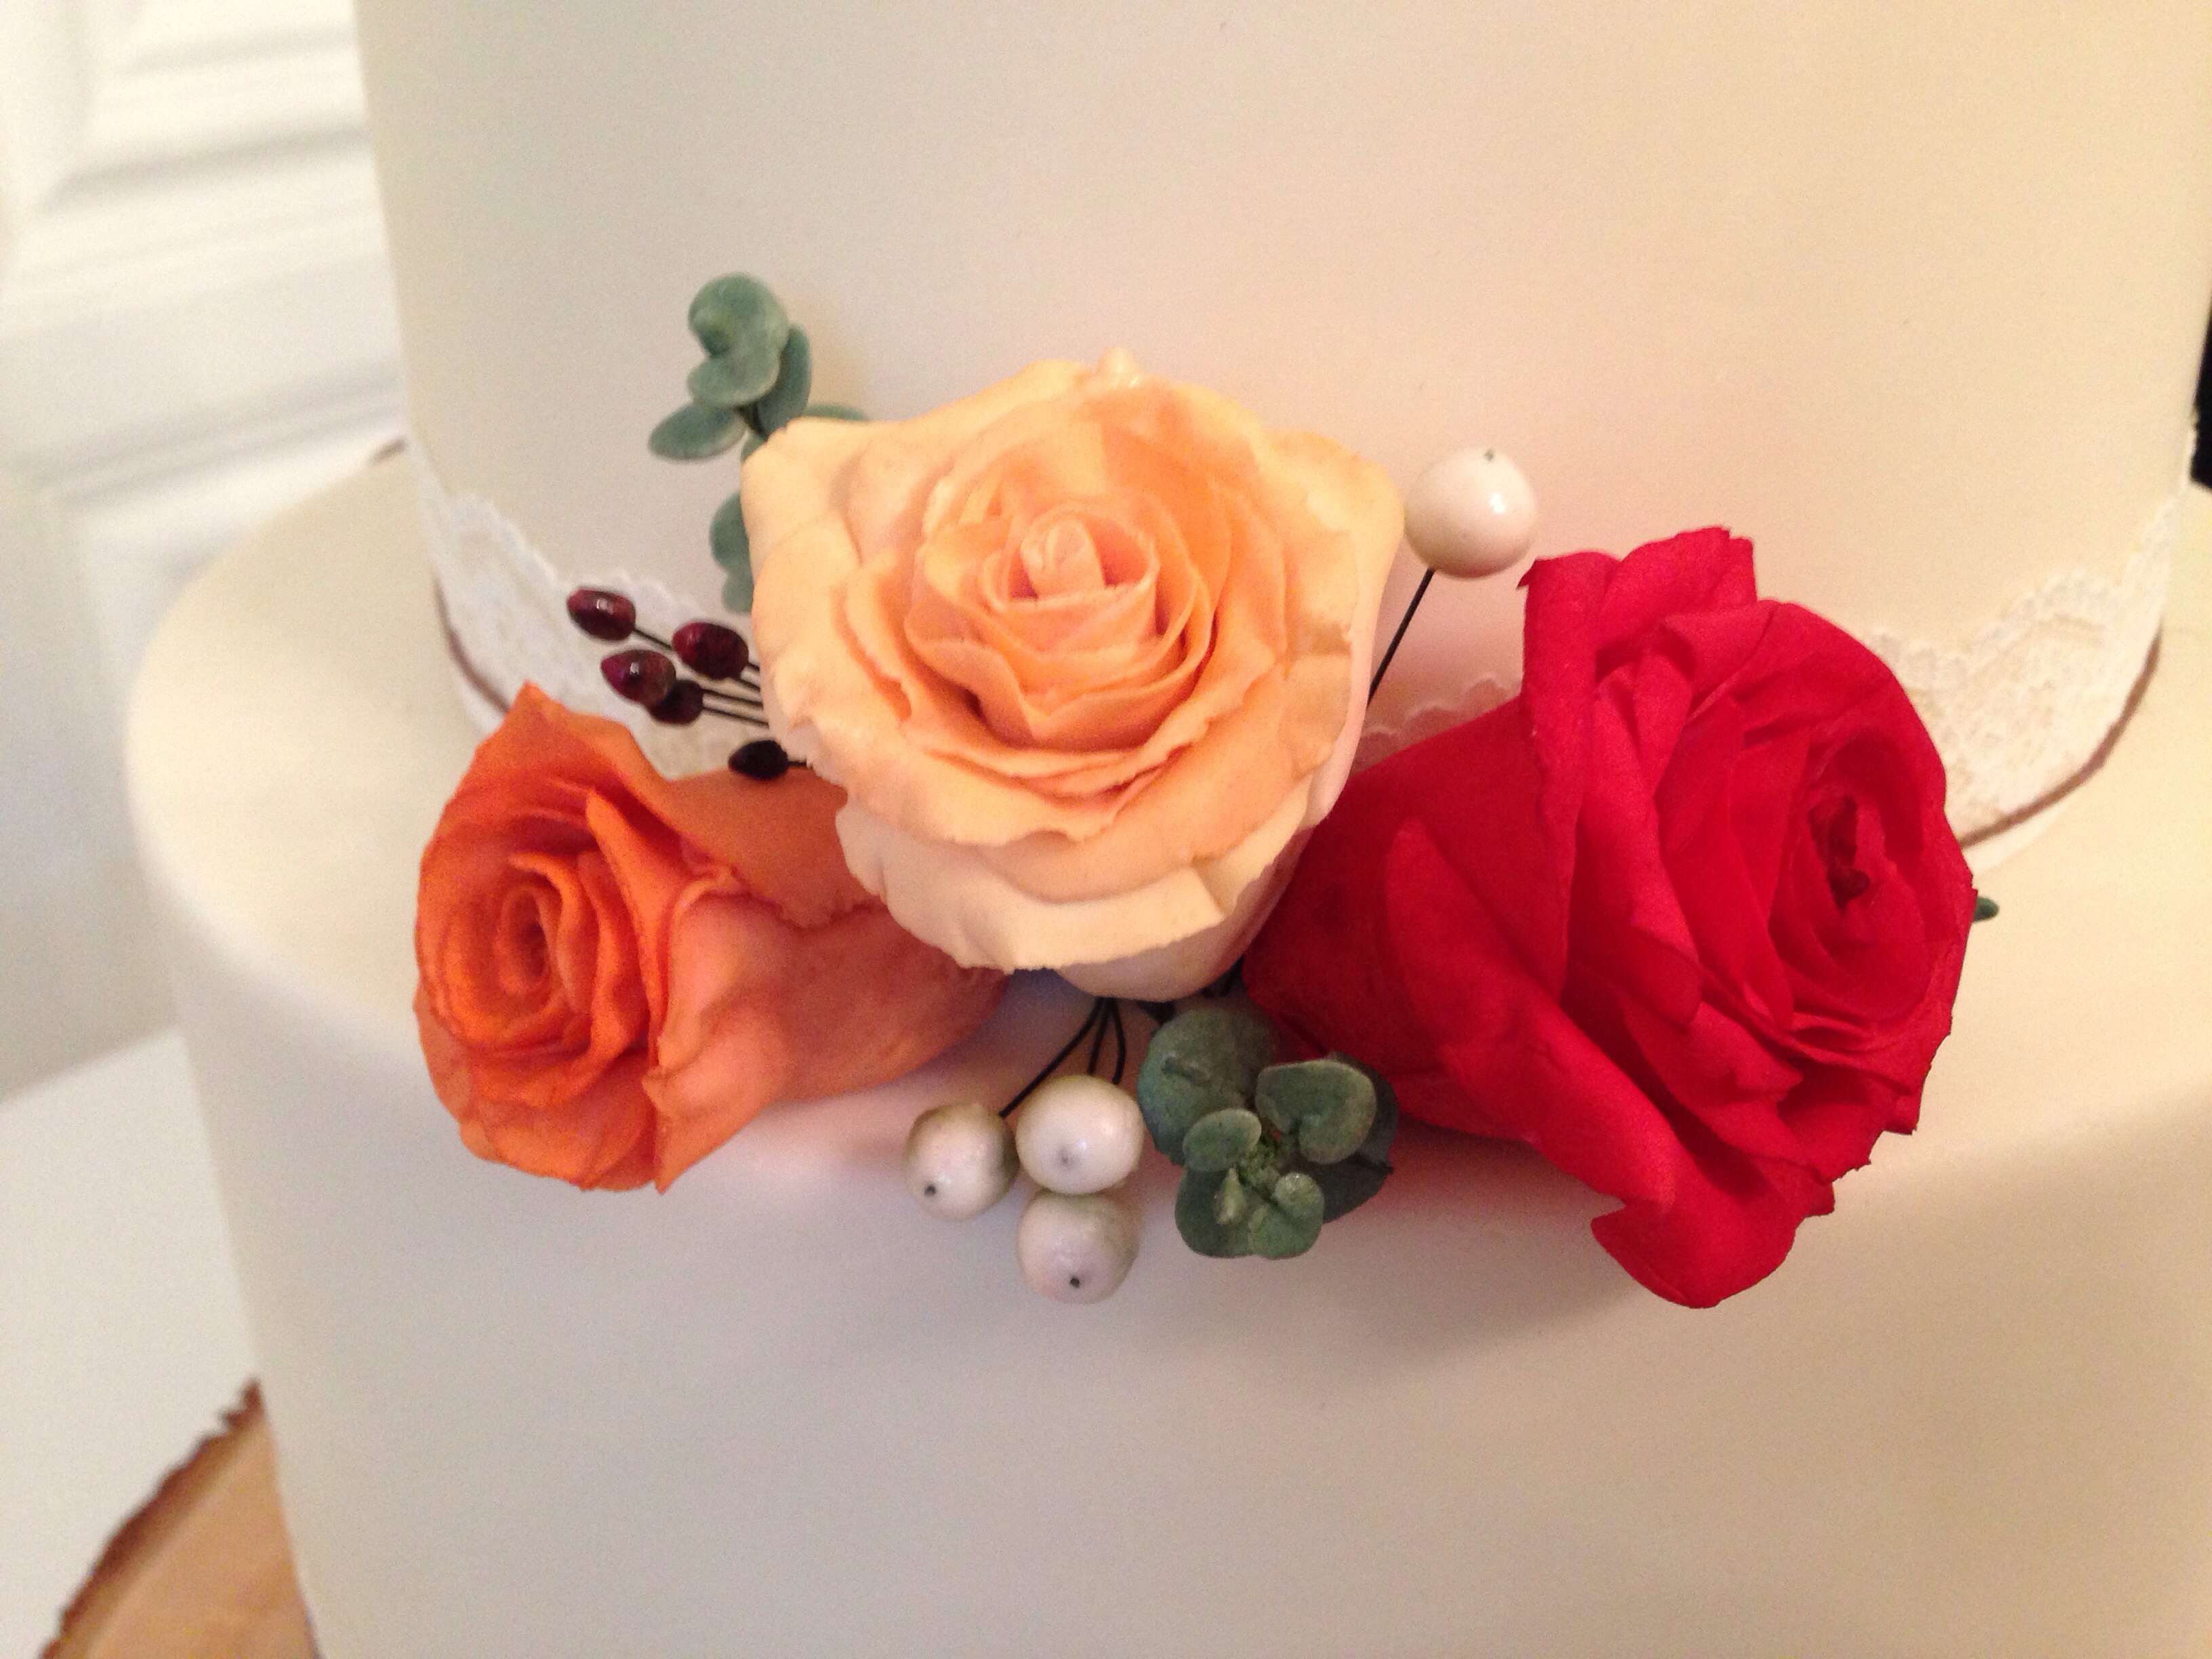
 This was very different to the first cake I made for Jen: Jen told me the cake stand she wanted and the colour, but other than that she left it up to me to do what I wanted. Becky, however gave me more direction, including the diameter and height of each cake. She wanted a few small flowers to match her bouquet on each tier but nothing too fancy. I used some upside down cake tins and spare roses from Jen’s cake to work out how many and what colour roses I needed to make. So using a photo of the bouquet she’d chosen on Pinterest as a guide, I made some red, orange and peach roses.
 I decided that the roses on their own wouldn’t be enough – the bouquet had eucalyptus and berries in it too – so I decided to make some small bits to fill in the gaps. When I assembled the cake at the venue on the Saturday morning, it was the first time I saw the actual flowers and they matched perfectly! Having the eucalyptus and berries definitely added the finishing touch.
 As usual I set myself too much to do/didn’t give myself enough time, but with Becky helping me make a few eucalyptus leaves, it all got done in time. One of the main problems I had, was the florist paste drying out really quickly. I made the roses at my parents house rather than at mine and I think it was something to do with the temperature/humidity – my house is obviously colder and damper than my parents house! I can roll out a large amount of paste, cut out lots of petals and then assemble the roses at mine without the petals drying out at all. However, at my parents house, if I cut out three petals, by the time I’d shaped them and stuck them on to the bud, they were already drying out. The advantage of this though was that I could layer the petals up straight away without having to wait for layers to dry out.
 The cake itself was chocolate biscuit for the bottom tier and fruit cake for the top two tiers. I made the chocolate biscuit cake and my mum made the fruit cake. They were double height and so they were very heavy. Before I iced them we did a trial run to check that the cake stand would hold them. It did, but we realised that they wouldn’t be able to actually cut the cake – the stand only had a small base and the pressure needed to cut through the solid chocolate biscuit cake would have caused it to topple over!
 It was amazing day. Everything about it was perfect. Congratulations Mr and Mrs Phillips!


Reblogged this on Sassylady's craft blog..
This looks great! I need to make a similar cake in a few weeks, and was wondering if you used any support in the various tiers as they are so heavy on top of each other…
Thanks! I didn’t use any in this since it was a pretty solid chocolate biscuit cake on the bottom tier and then solid fruit cakes on top – had I made it out of sponge cakes I would definitely have used dowels in it for support. Hope that helps and good luck!