One of the best things about making larger cakes and unusual shaped cakes are all the off cuts! Cakes always need levelling off or shaping, so there are plenty of opportunities to do a taste test. Having made several large cakes recently I have ended up with loads of left over cake. So I have been making lots of cake pops and I now have a freezer filled with around 200 to be used and decorated at some point in the future. Click here to find out how to make and decorate these pretty cake pops.
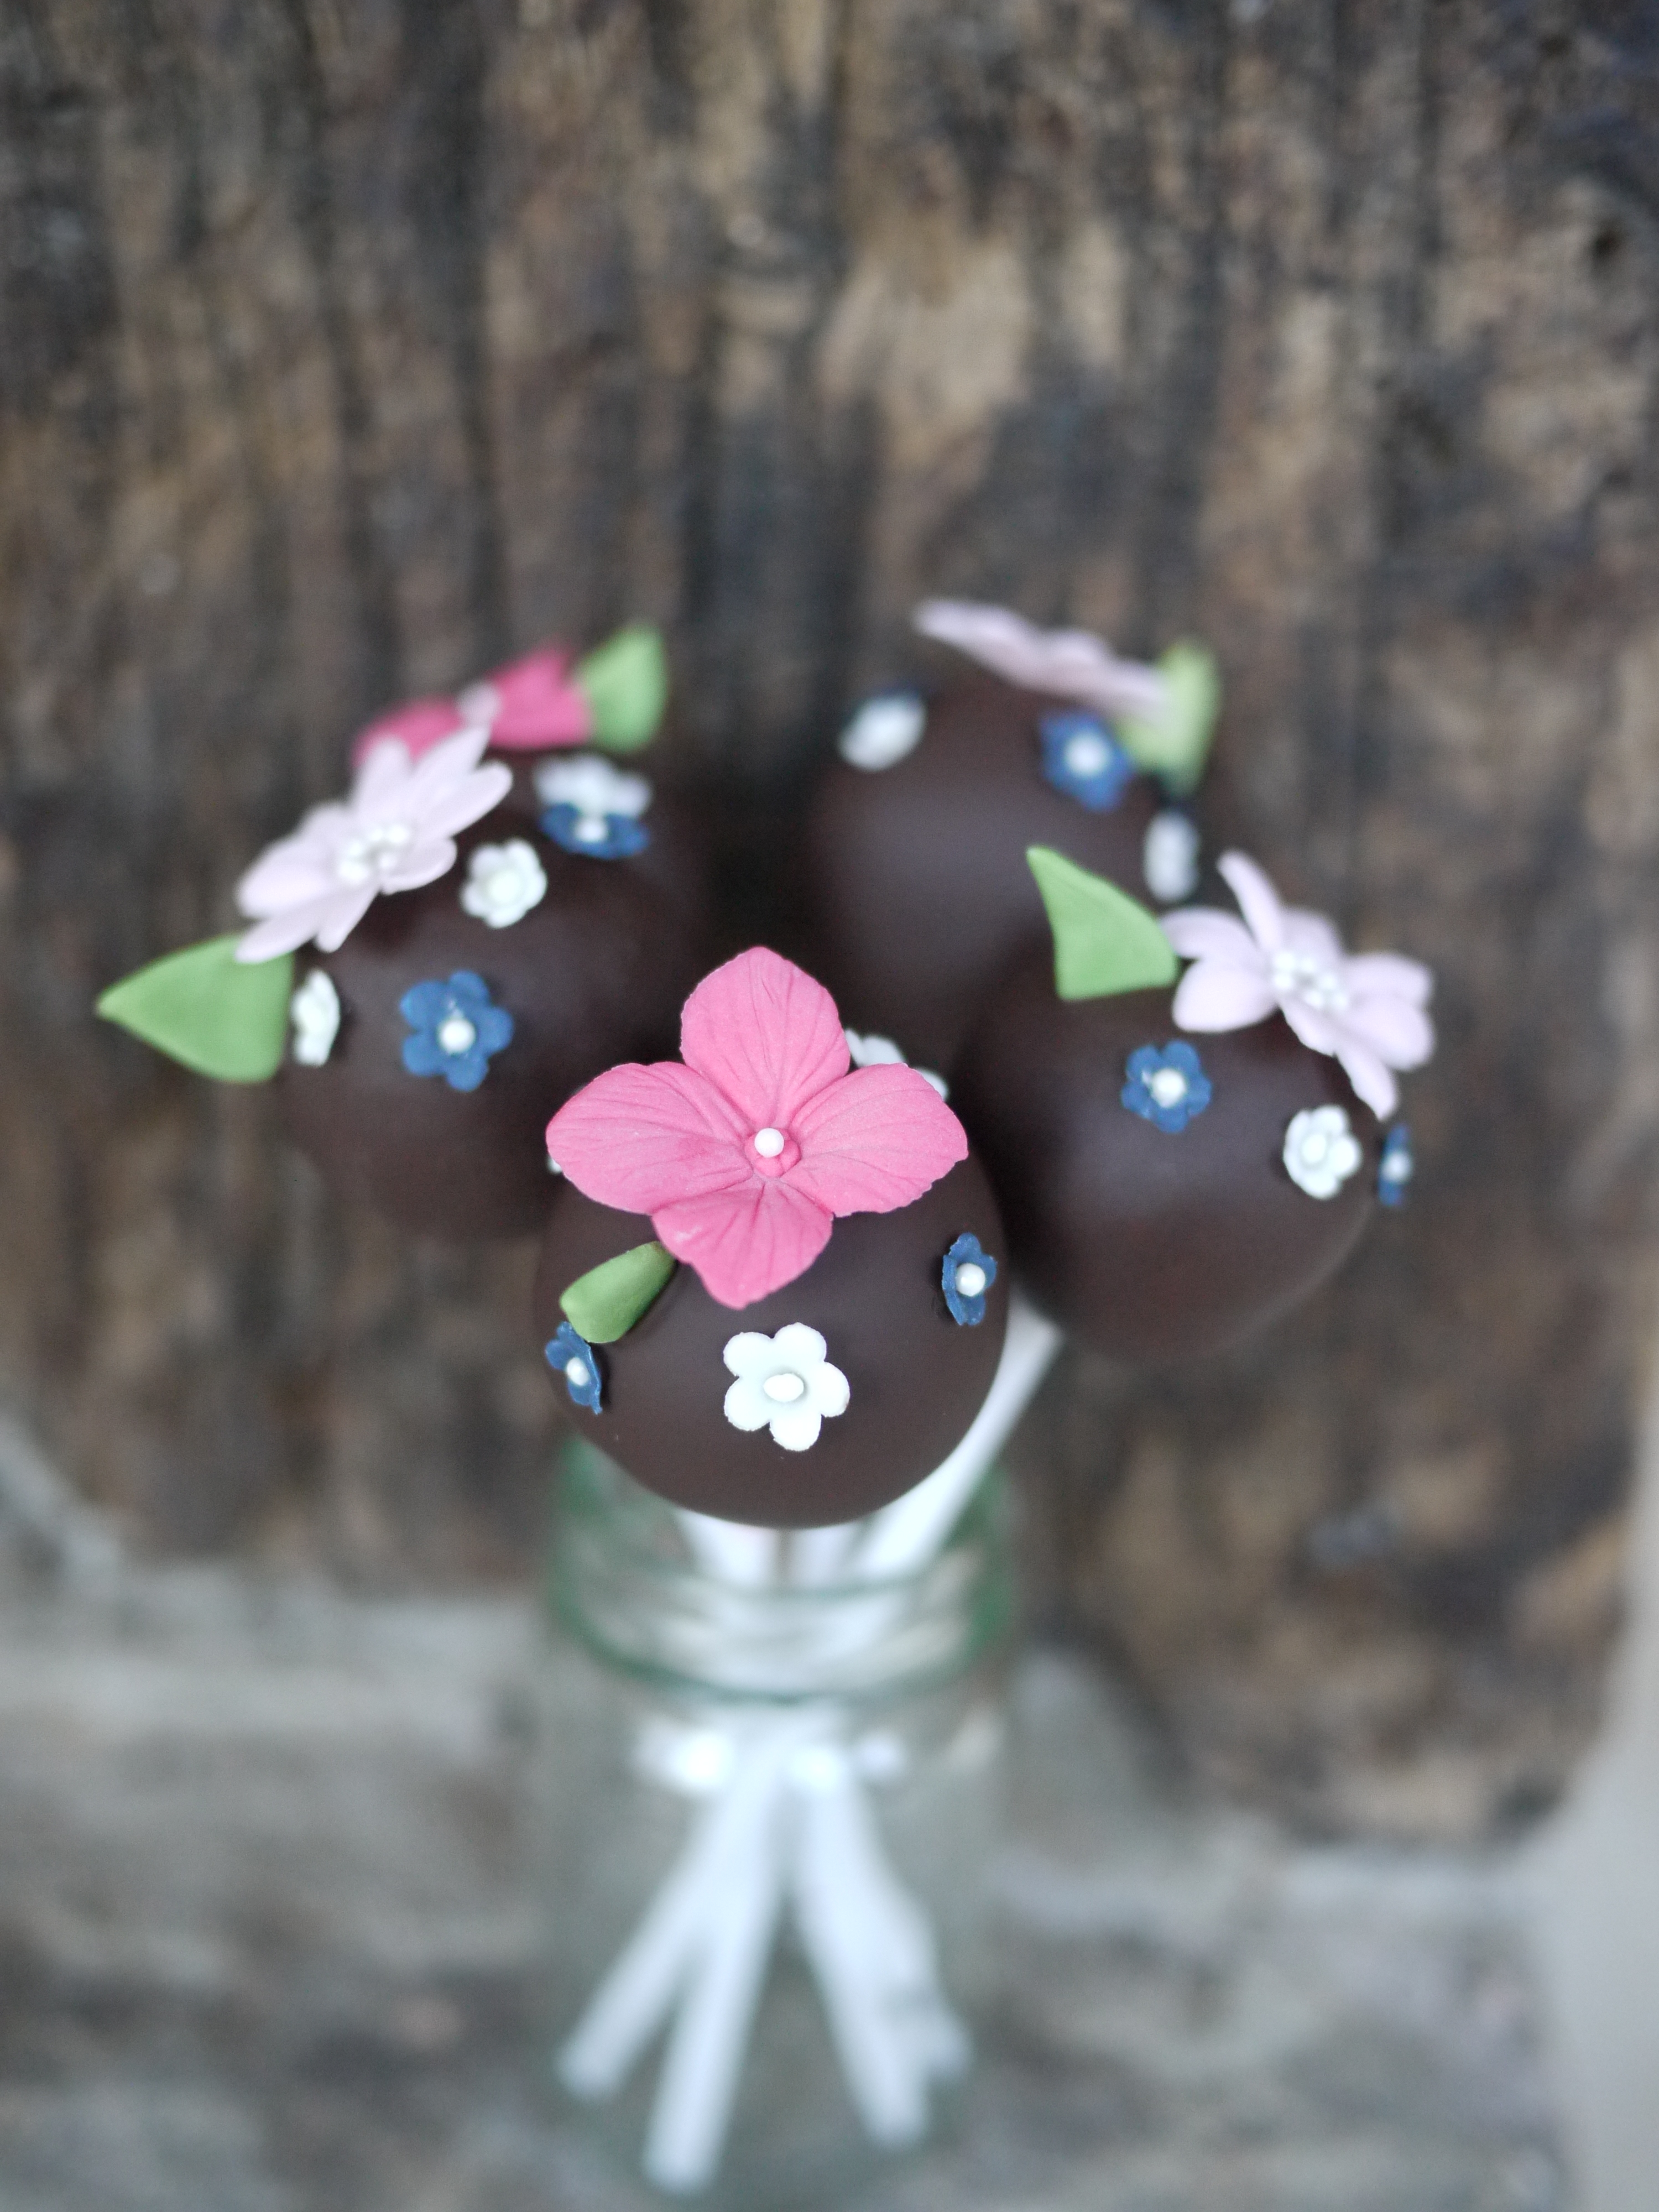
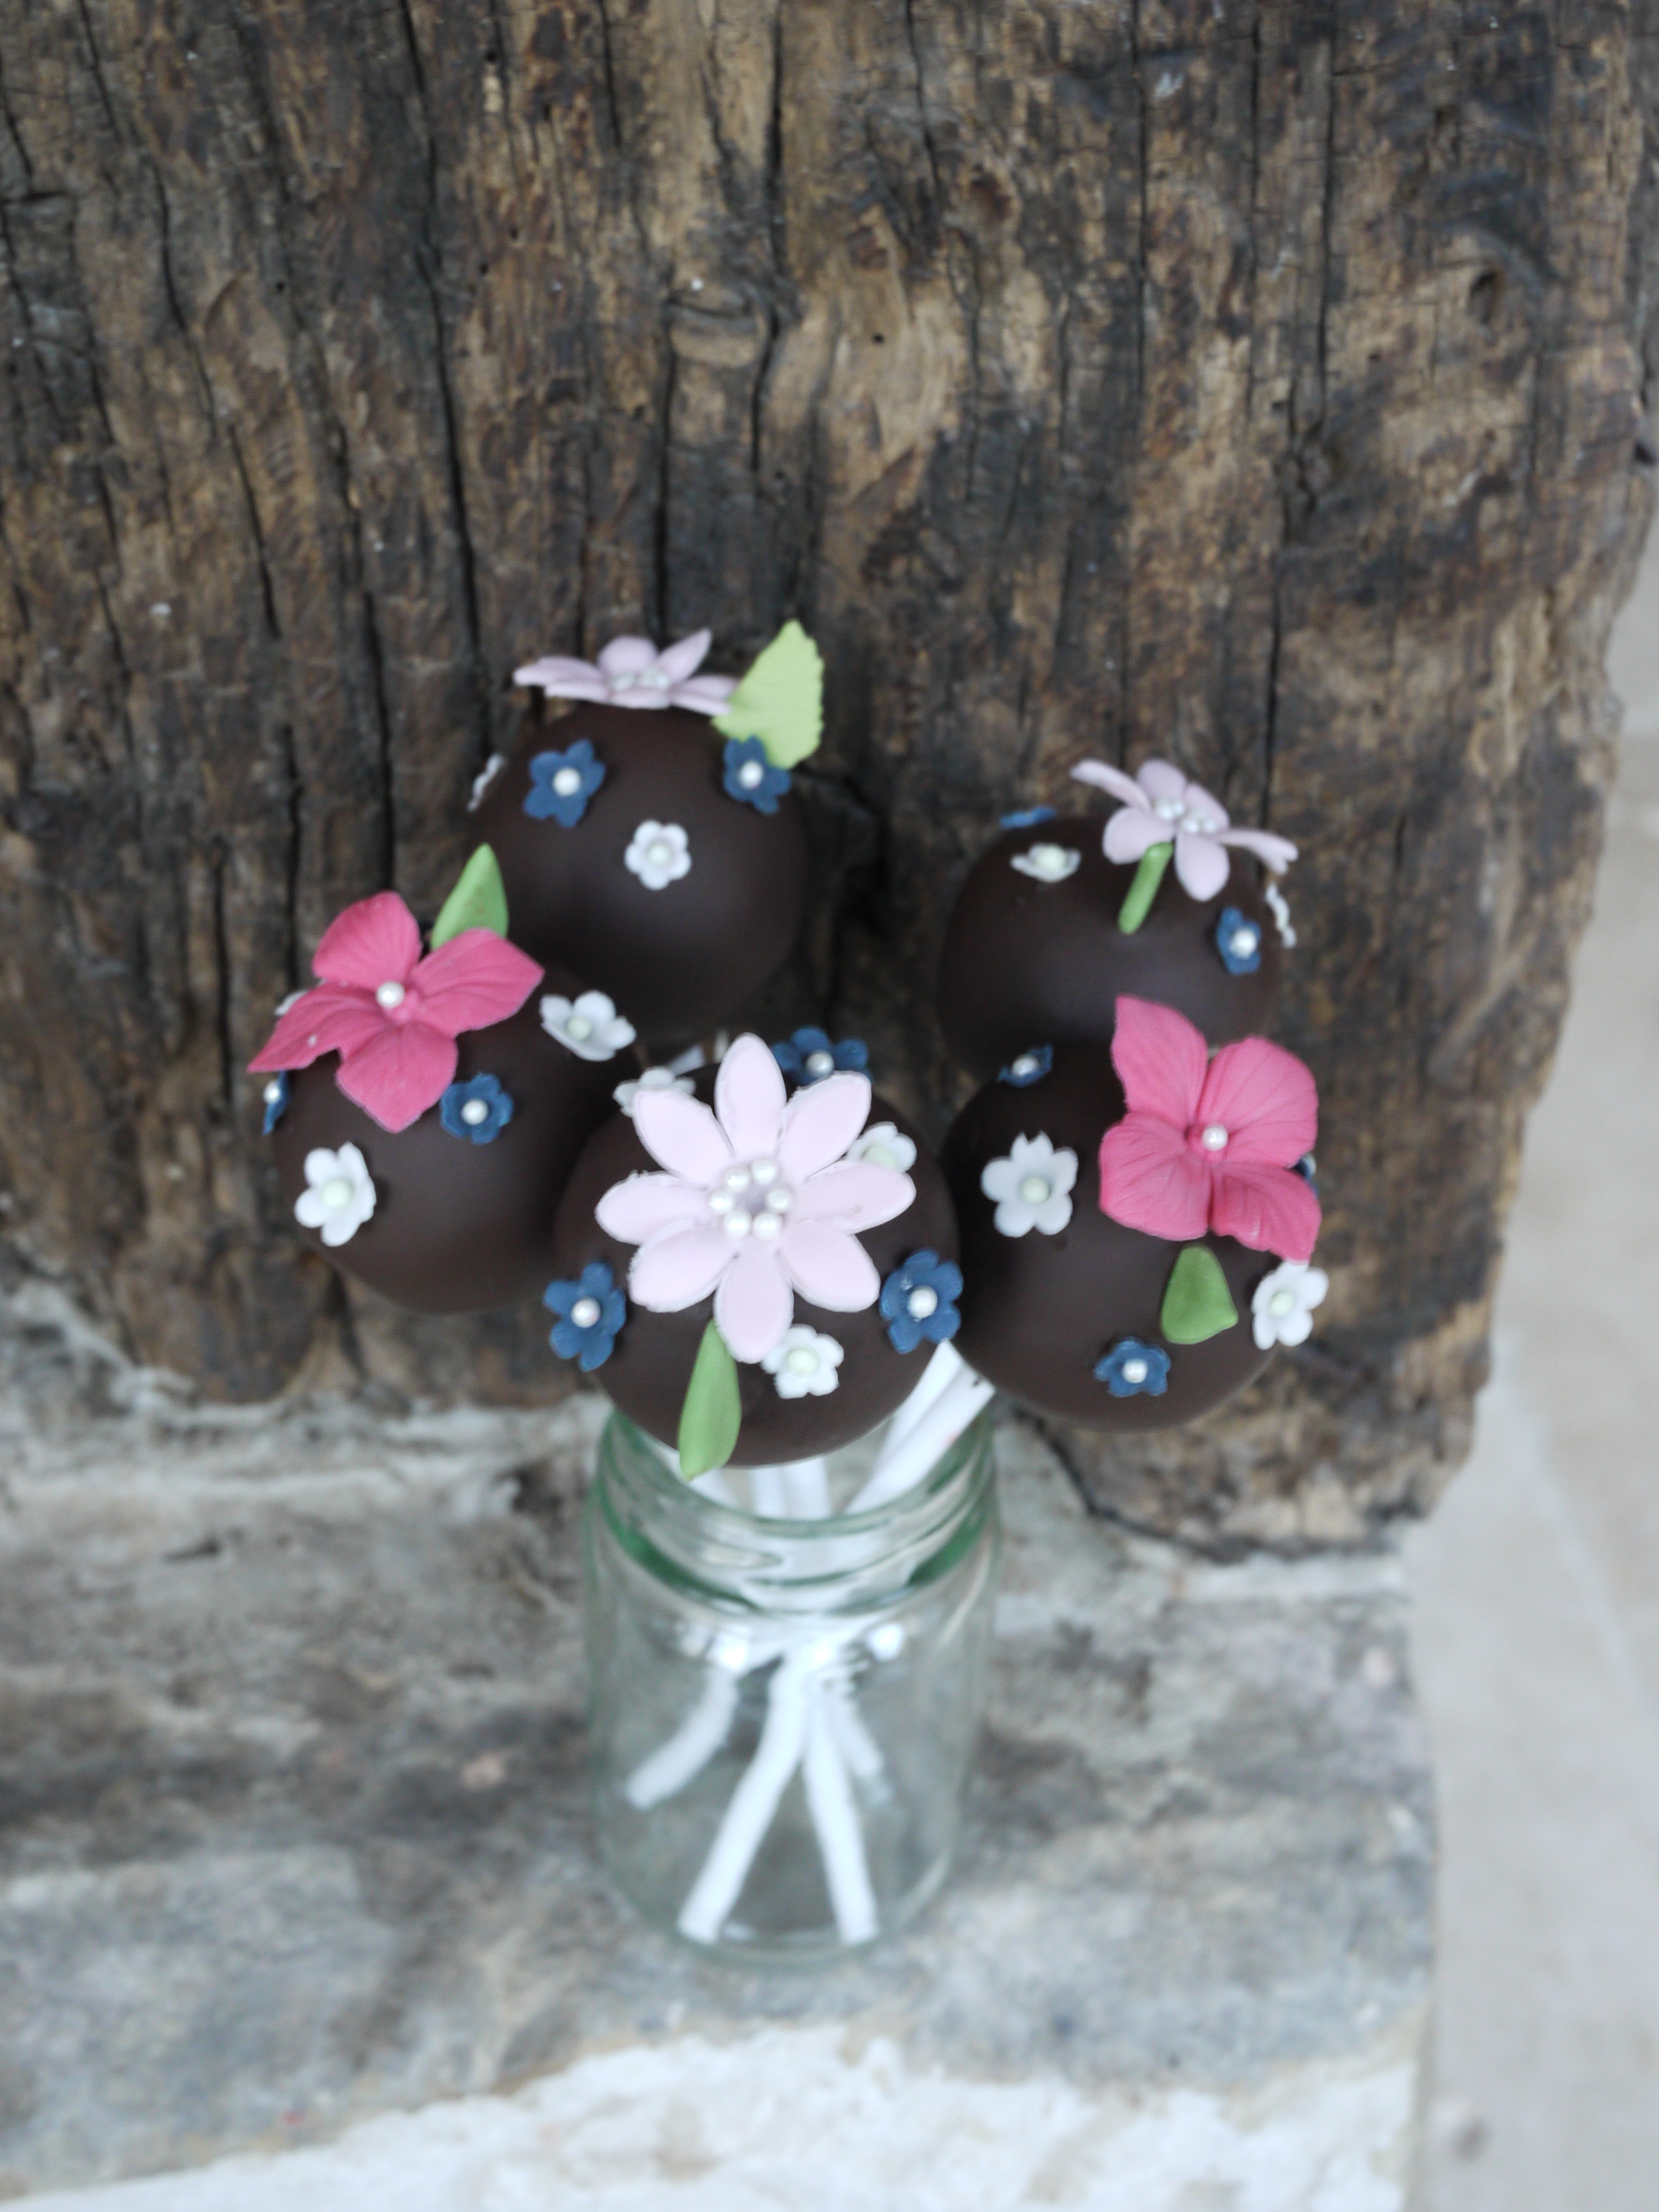
There are loads over very cool designs, but they do take some time to decorate. So I decided that as well as using up the cake pops I would decorate them with left over cake decorations – such as mini flowers that I have left over from various wedding and Birthday cakes.

To make the cake pops, break up your left over cake into small chunks and add to a food processor. Whiz it round for a few minutes until it forms crumbs. Tip this onto a large bowl. You will then need to add some butter cream – again I usually end up with some left over, so it is a good way to use it up. I tend to add just 1 tablespoon at a time and mix it round until the mixture comes together and you can roll it into balls. If you add too little the balls will crumble, if you add too much then they will be too soft and sticky and won’t hold their shape and the sticks will fall out.
Line some baking trays with a non-stick liner or baking parchment. Once you have the right consistency, roll into balls in the palm of your hand. I usually make them the side of a walnut in its shell – if you want to weigh them to get them all the same size I usually use about 26g per cake pop. Place each ball on the tray, spacing them out so they don’t stick together.
If you are going to use them immediately, pop them in the fridge for 30 mins to harden up. If you want to keep them for another time, put them in the freezer, once frozen you can transfer them to a freezer bag until you are ready to use them.
While the cake pops are chilling in the fridge, melt you choice of colour of candy melts or chocolate. When the cake pops are colder and more solid, take them out of the fridge. Take a cake pop stick and dip the very tip in the melted candy melt or chocolate and insert it into a cake pop, you’ll need to push it in just over half way. Remove any excess melted candy melt. You can either lie this carefully back down on the tray or put it into a cake pop stand (or I find the cardboard egg containers work well too). Continue with all your cake pop and leave in the fridge to harden, this shouldn’t take long.
Once the sticks have hardened in place, you are ready to coat you cake pops in your chosen candy melts or chocolate. Make sure you have all your other decorations and sprinkles ready as you will need to stick these on as soon as the cake pop has been dipped in the melted coating.
If you are using candy melts, you will need to add a small amount of vegetable fat to loosen the melted mixture in order for it to coat the cake pop smoothly, otherwise it is too thick. You’ll need to loosen it till it becomes the texture of runny melted chocolate.
I find that melting the candy melts or chocolate in a mug is the best option as a mug is small, so the melted coating will be deeper for you to dip the cake pop in.

Once you are ready, take a cake pop and dip it into the melted coating ensuring that it is all covered. Then you will need to tap it on the edge of the mug, rotating it to remove all the excess and to stop it dripping down the stick once you put it in the stand to harden.
Once all the excess has been shaken off, decorate with your sprinkles, sugar balls, flowers etc. pop in the stand and allow the coating to harden.
There are endless possibilities for decorating cake pops, but these simple ones are a great way to use up left overs!


Leave a comment